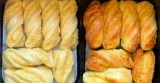
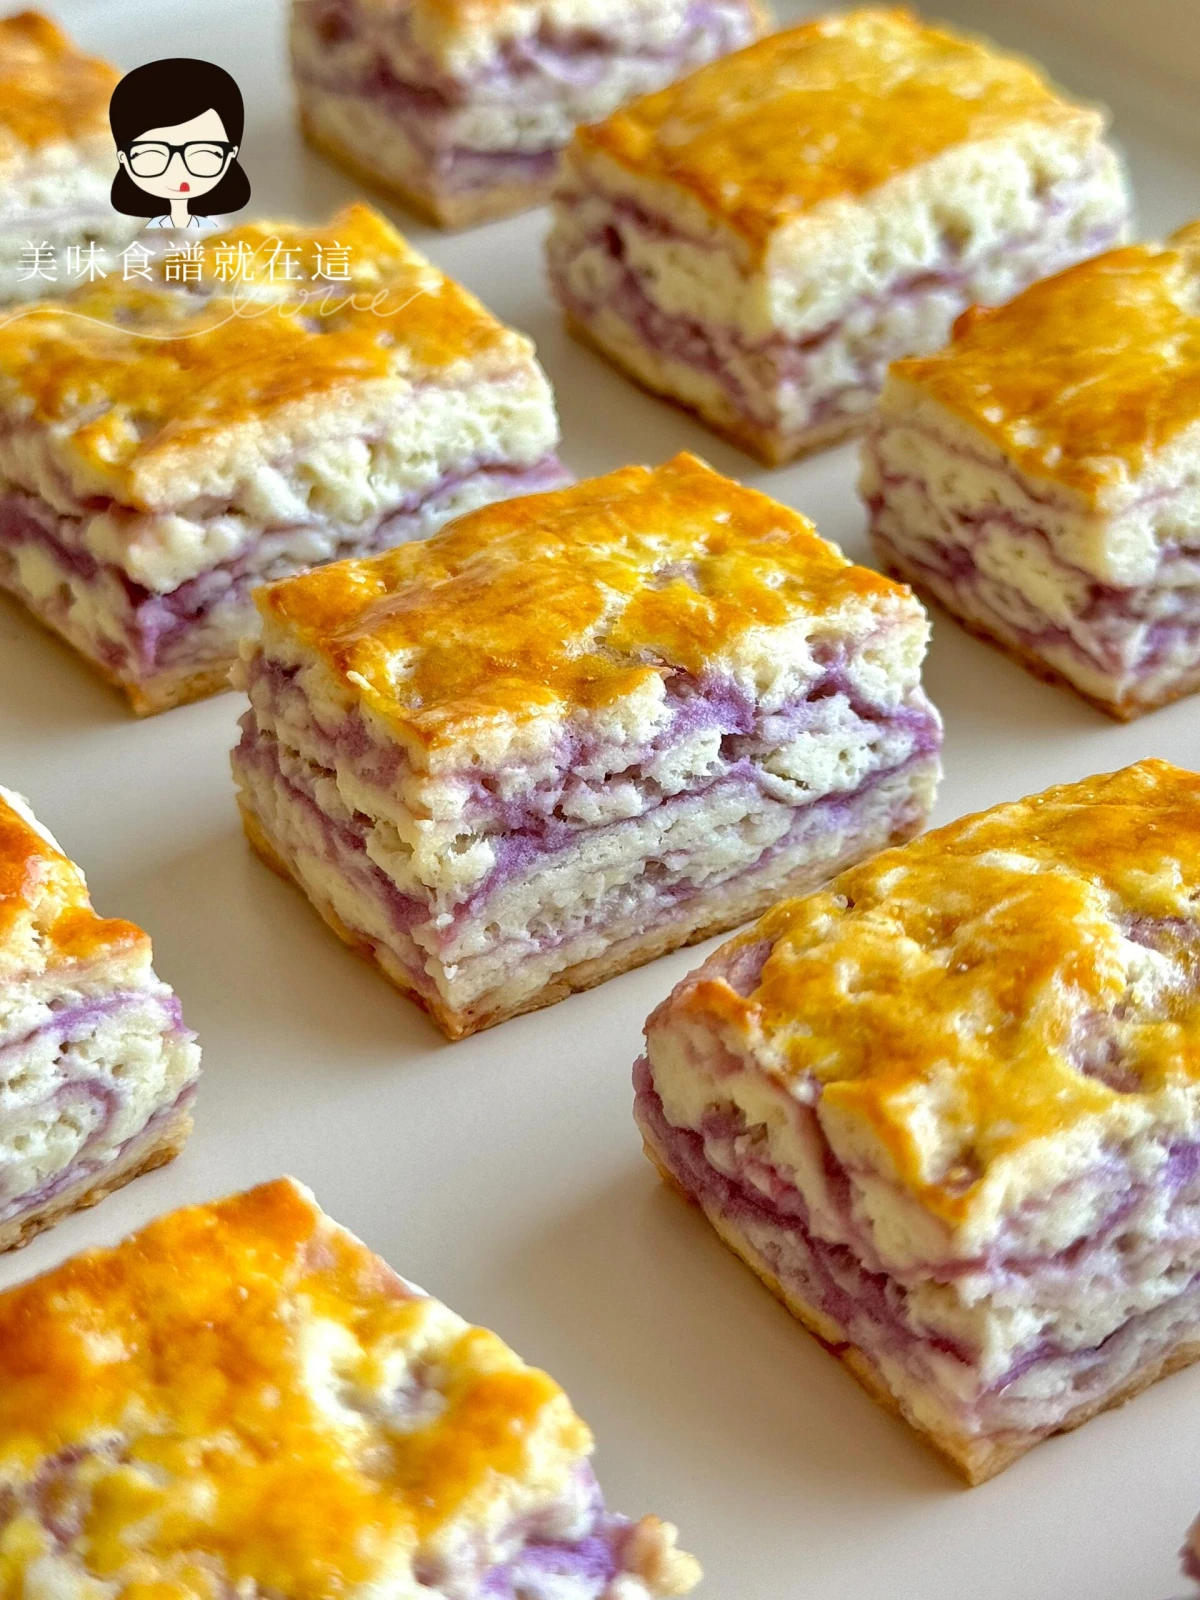
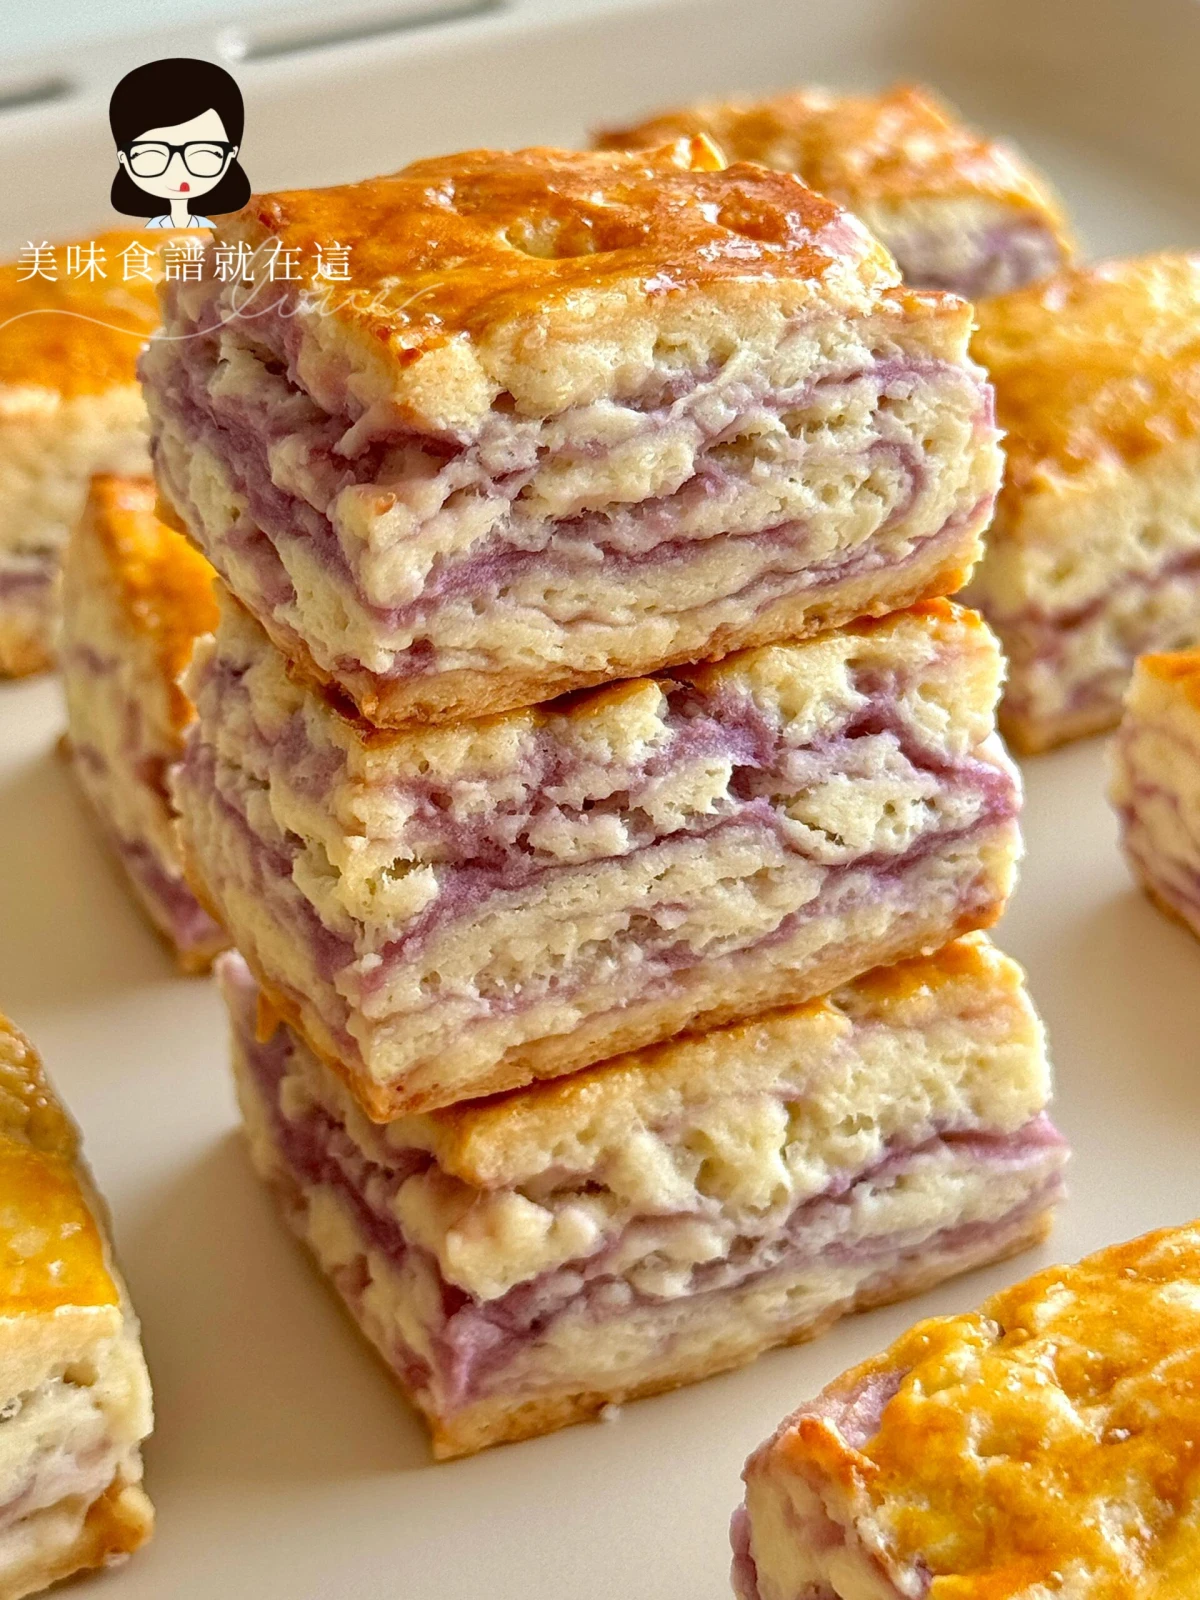
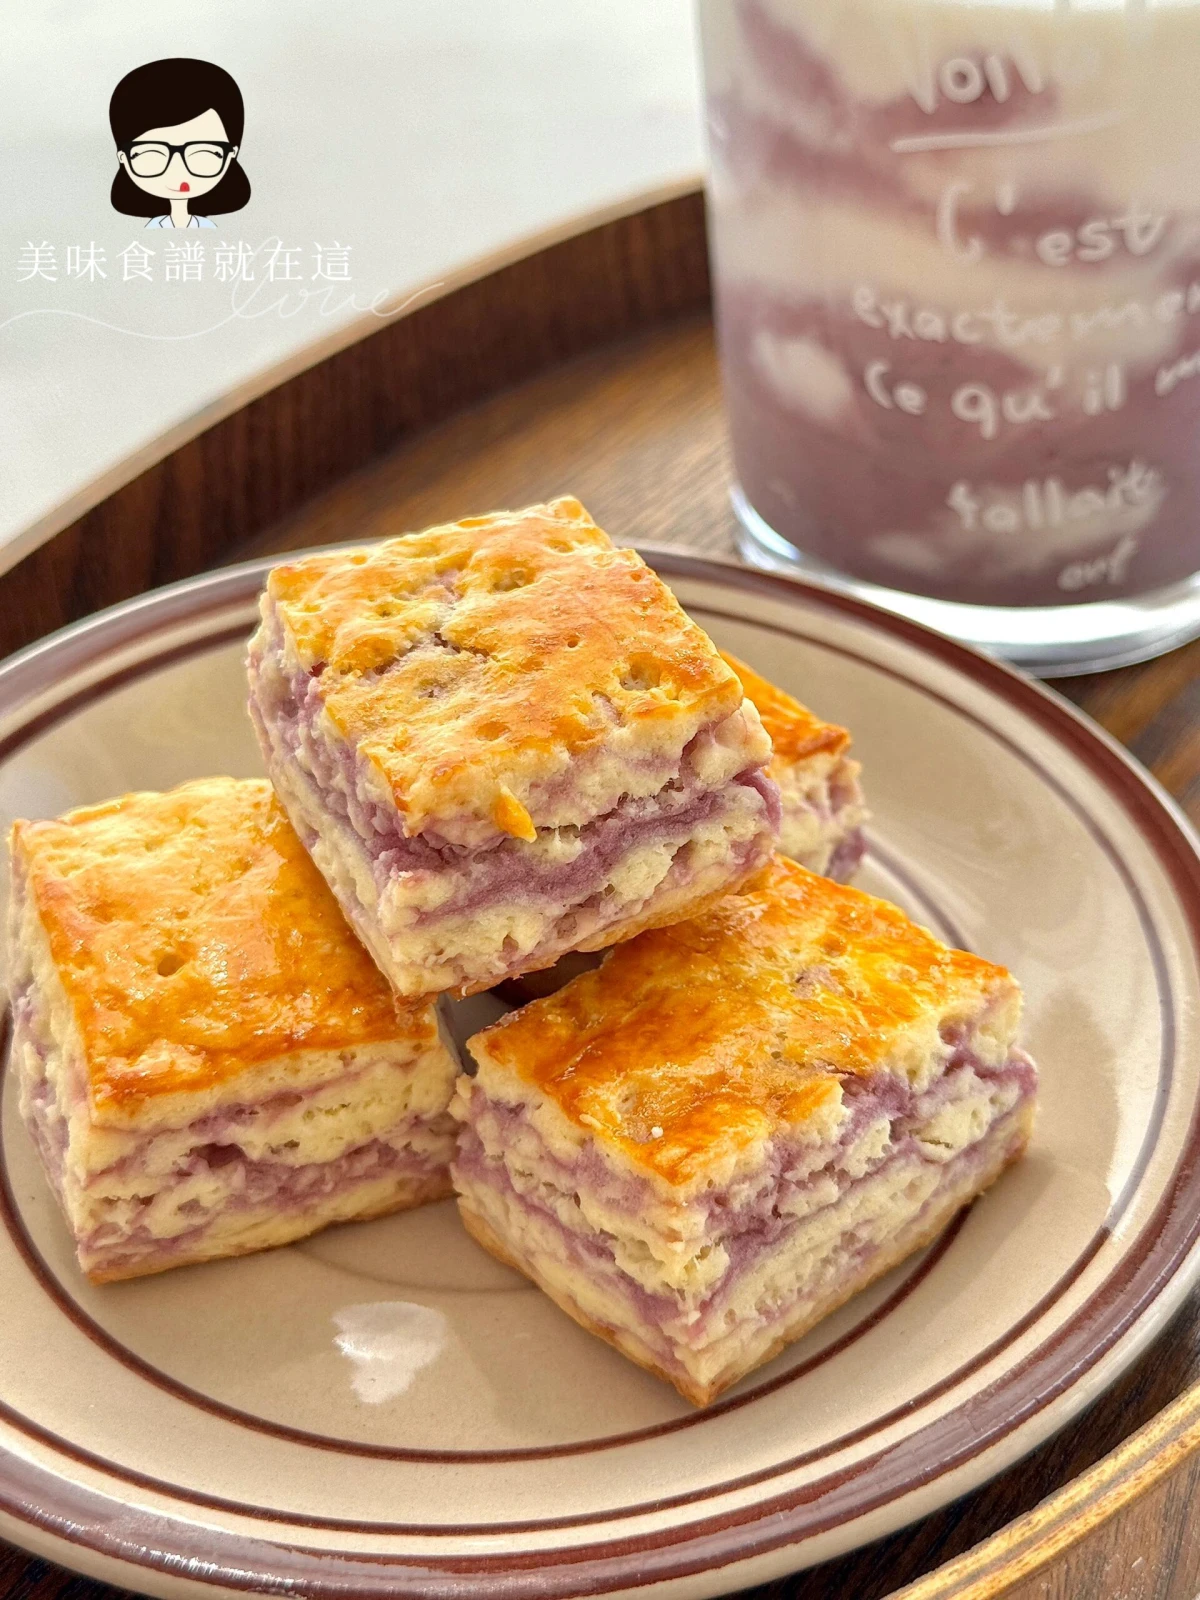
芋泥千層司康💜這個配方真的好吃到爆!!!|||難熬的周一,在家做了芋泥味的千層司康,芋泥控真的太喜歡這個口味啦
·
🛒食材準備
低筋麵粉200克,鹽1克,糖25克
黃油80克,蛋黃1個,泡打粉6克
牛奶70克,芋泥適量
-
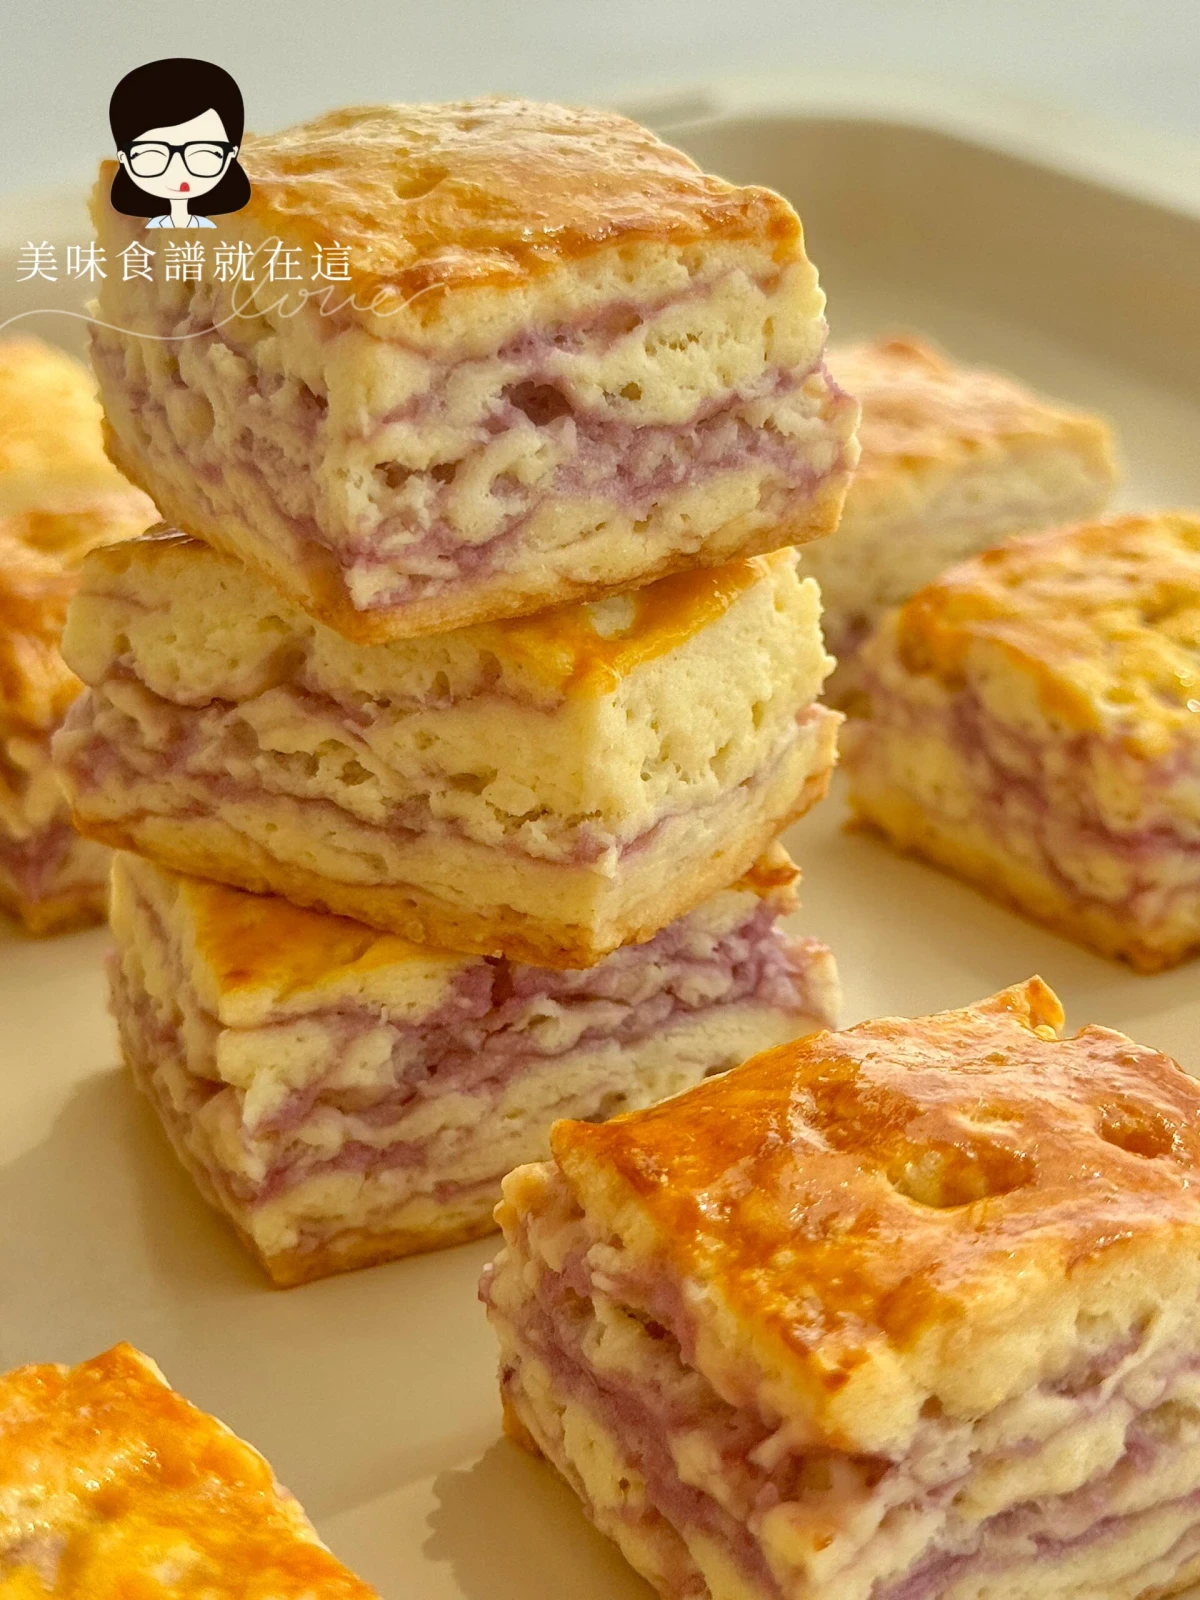
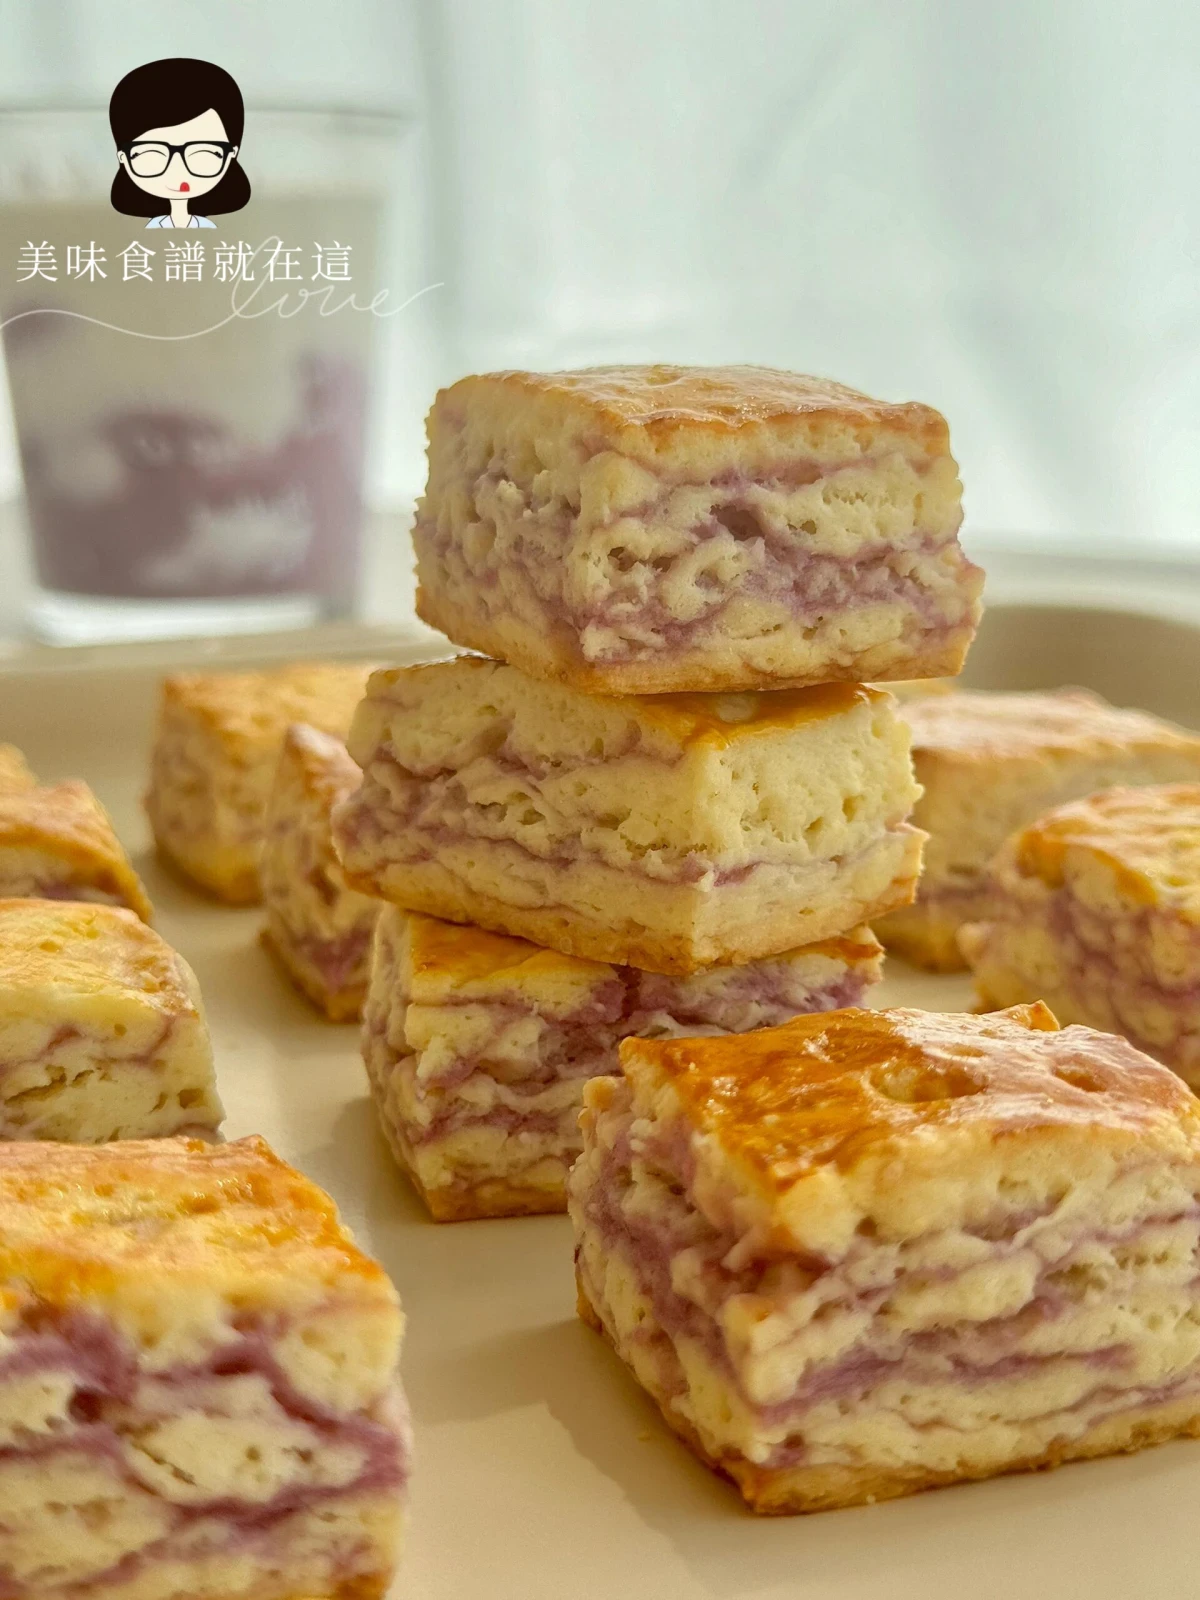
👩🍳製作過程(👆)
①低筋麵粉、鹽、糖和泡打粉倒入容器中,攪拌均勻
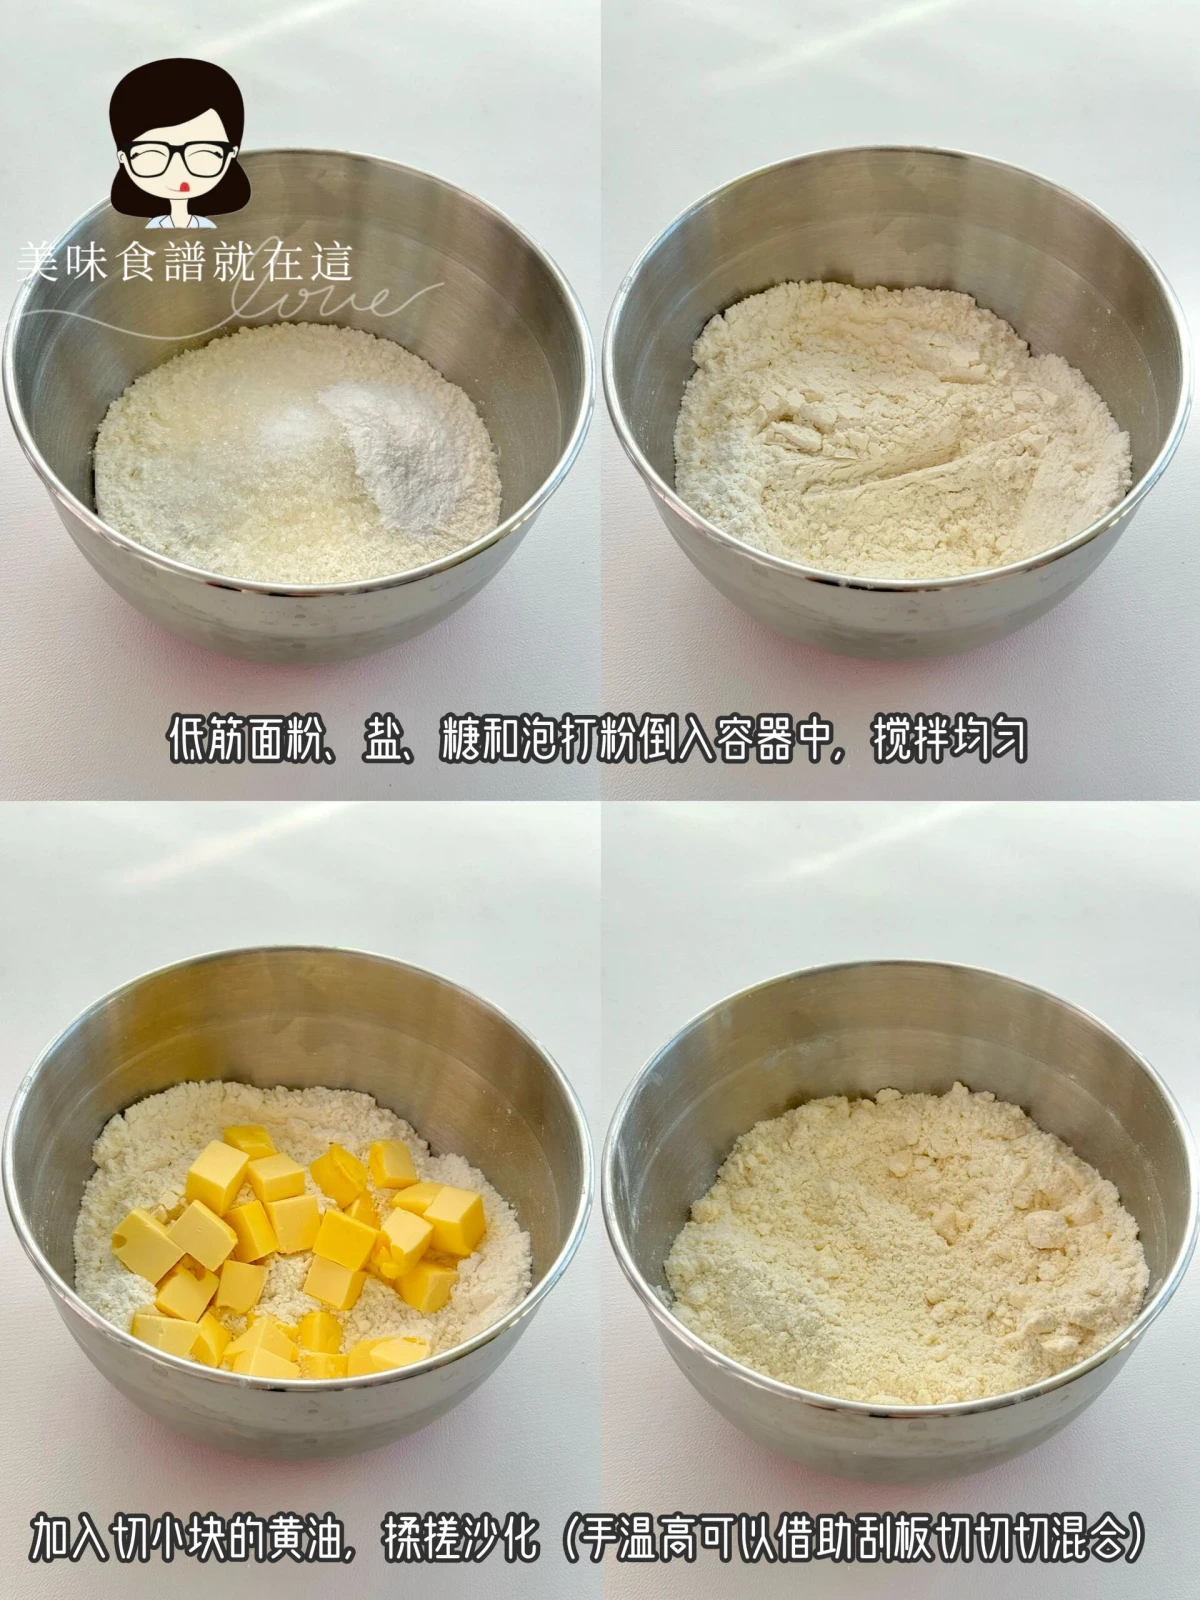
②加入切小塊的黃油,揉搓沙化,倒入牛奶按壓成團
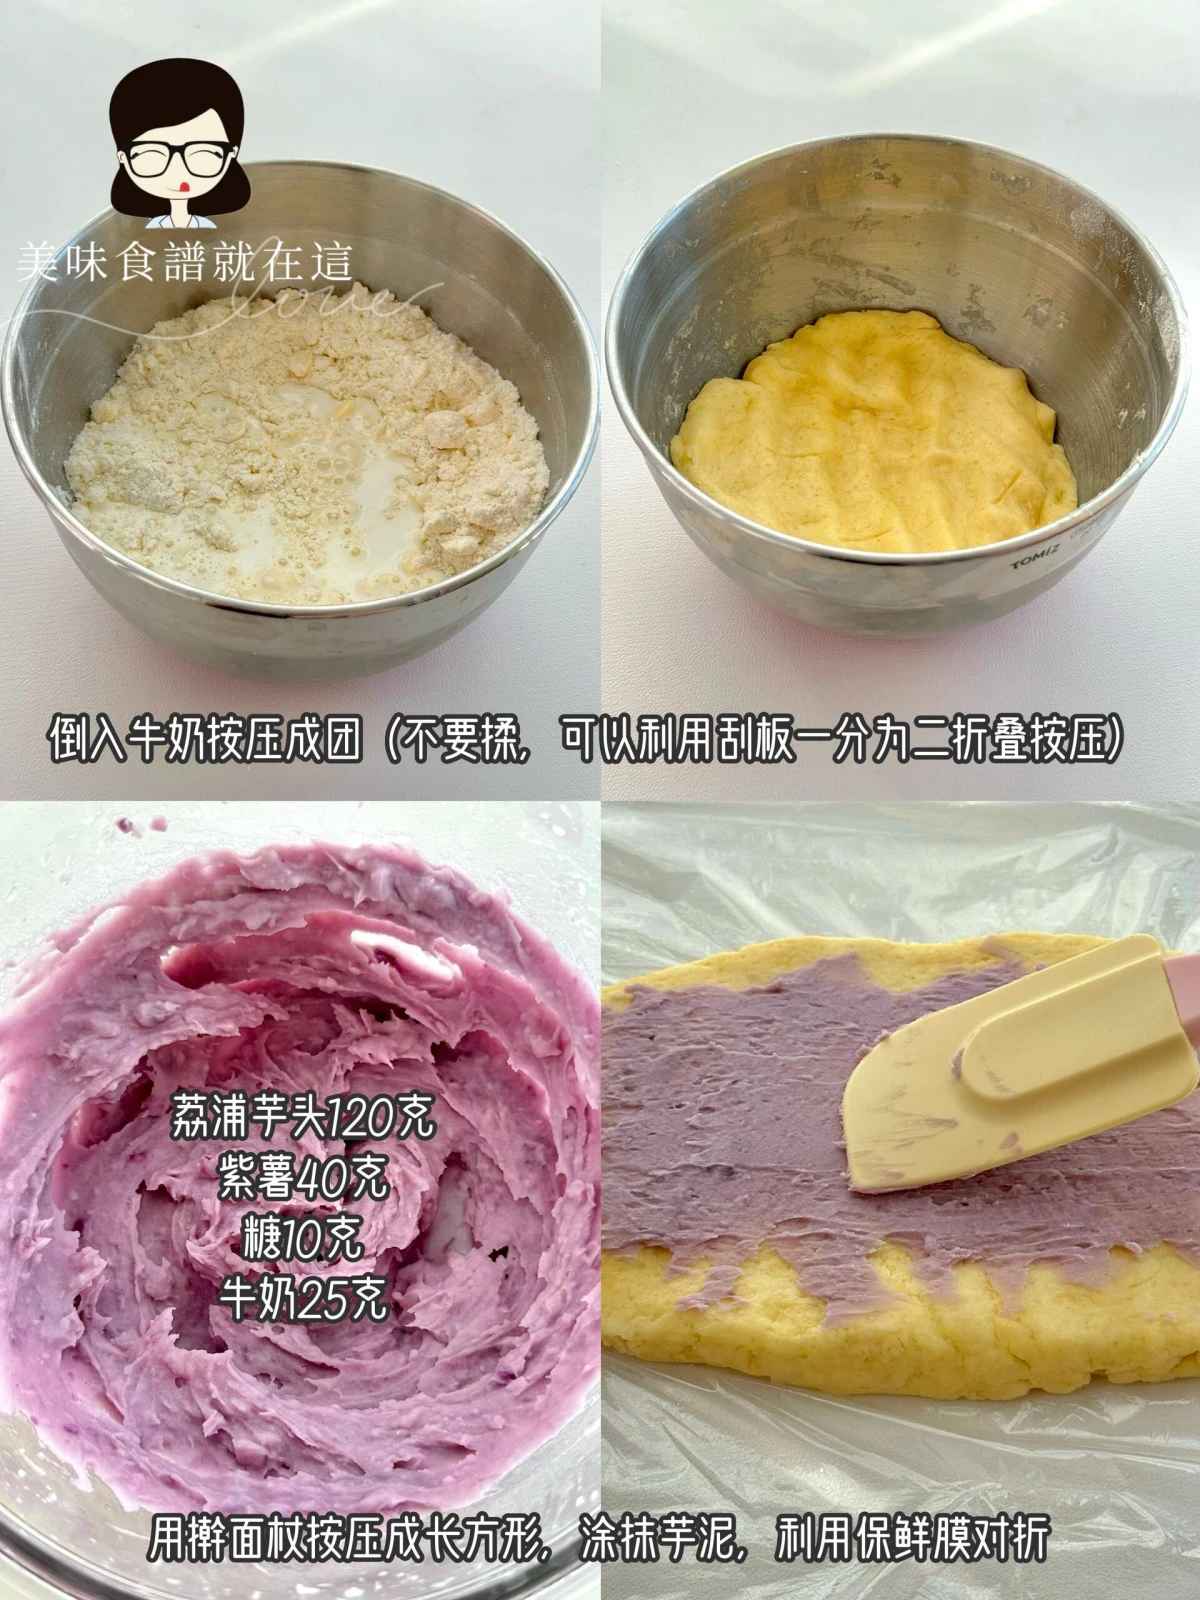
③用擀麵杖按壓成長方形,塗抹芋泥,利用保鮮膜對摺,重複2次,保鮮膜包起來冷凍30分鐘
④烤箱180度預熱,取出麵糰切掉四邊,平分成小塊
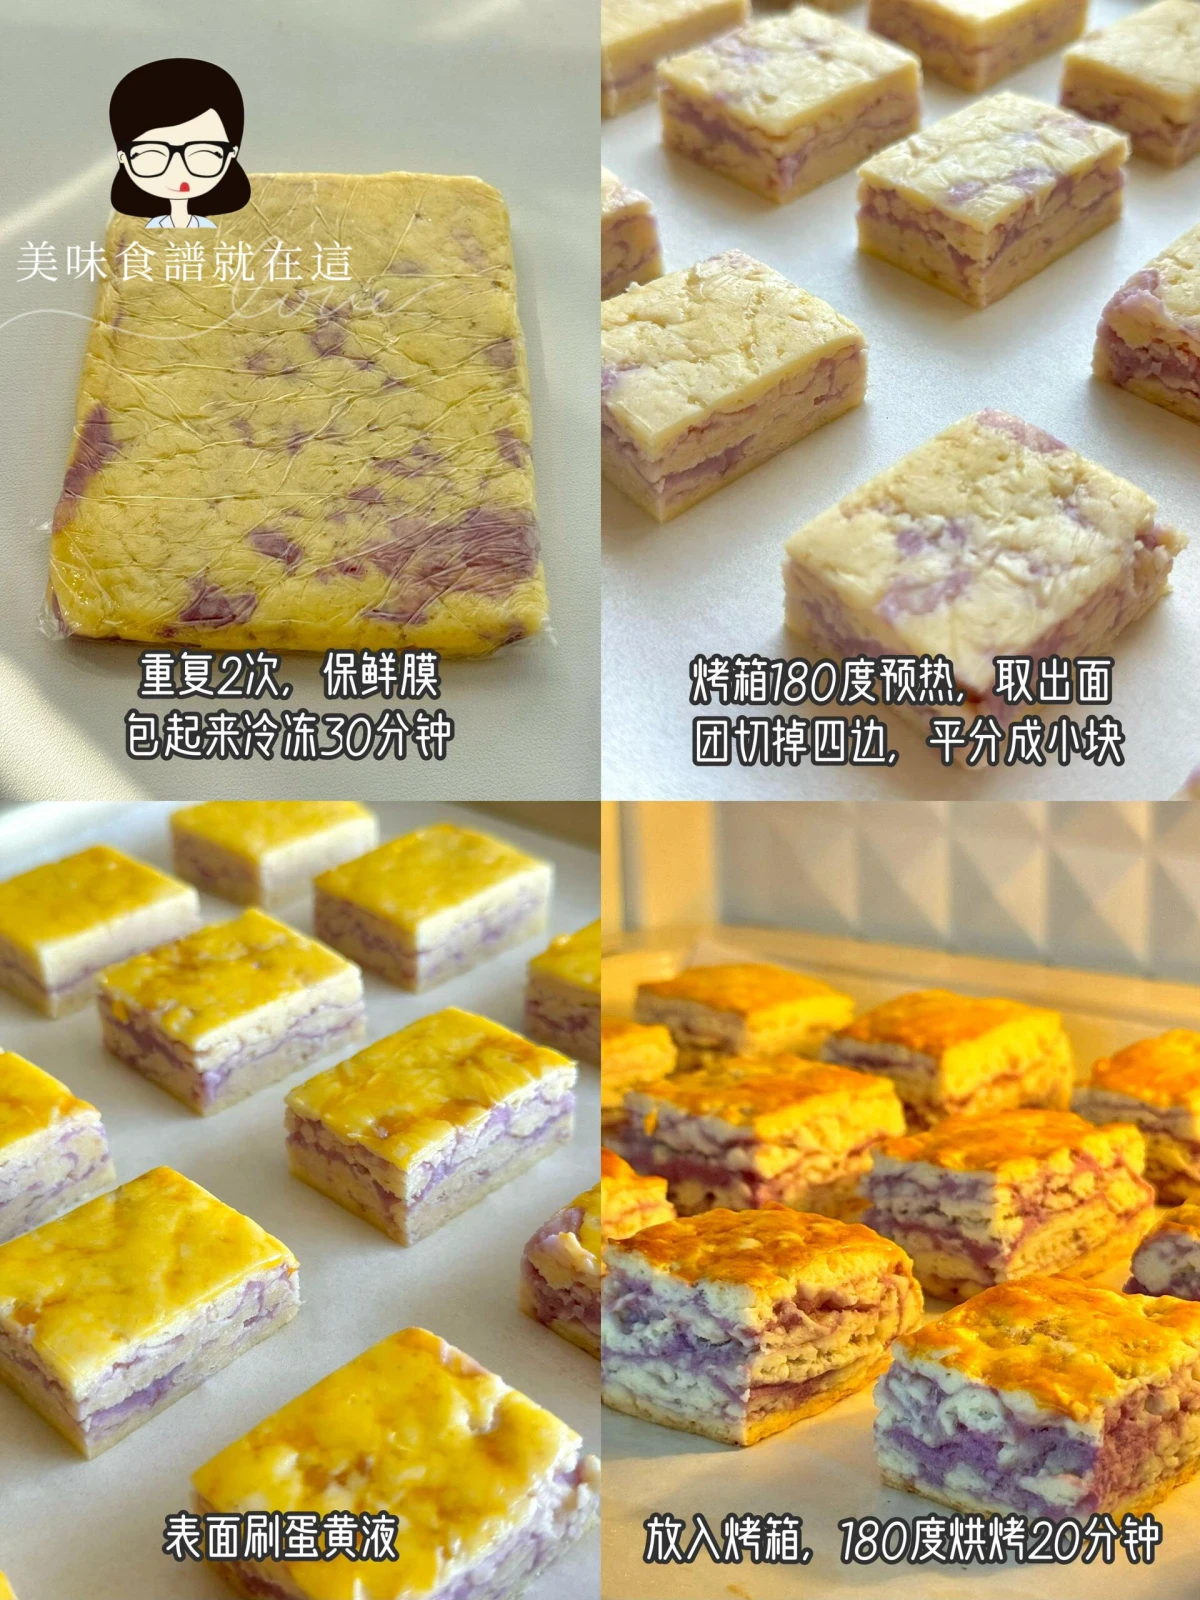
⑤表面刷蛋黃液,放入烤箱,180度烘烤20分鐘
-
🚨小貼士
⚠️採用按壓的方式不要過度翻拌麵糰
⚠️糖的份量根據個人口味進行調整
⚠️每個烤箱脾氣不同,按照自己的烤箱來調整烘烤時間和溫度
·
Taro Thousand Layer Scones💜This recipe is really delicious!!! |||On a tough Monday, I made taro-flavored Thousand Layer Scones at home. Taro lovers really like this flavor
·
🛒Ingredients
200g low-gluten flour, 1g salt, 25g sugar
80g butter, 1 egg yolk, 6g baking powder
70g milk, appropriate amount of taro paste
-
👩🍳Production process (👆)
①Pour low-gluten flour, salt, sugar and baking powder into a container and stir evenly
②Add small pieces of butter, knead and sand, pour in milk and press into a ball
③Press with a rolling pin Press into a rectangle, apply taro paste, fold in half with plastic wrap, repeat twice, wrap with plastic wrap and freeze for 30 minutes
④Preheat the oven to 180 degrees, take out the dough, cut off the four sides, and divide it into small pieces
⑤Brush the surface with egg yolk liquid, put it in the oven, and bake at 180 degrees for 20 minutes
-
🚨Tips
⚠️Do not over-stir the dough when pressing
⚠️Adjust the amount of sugar according to personal taste
⚠️Each oven has a different temper, adjust the baking time and temperature according to your own oven
·

 省電俠 • 4K次觀看
 星小葵 • 2K次觀看